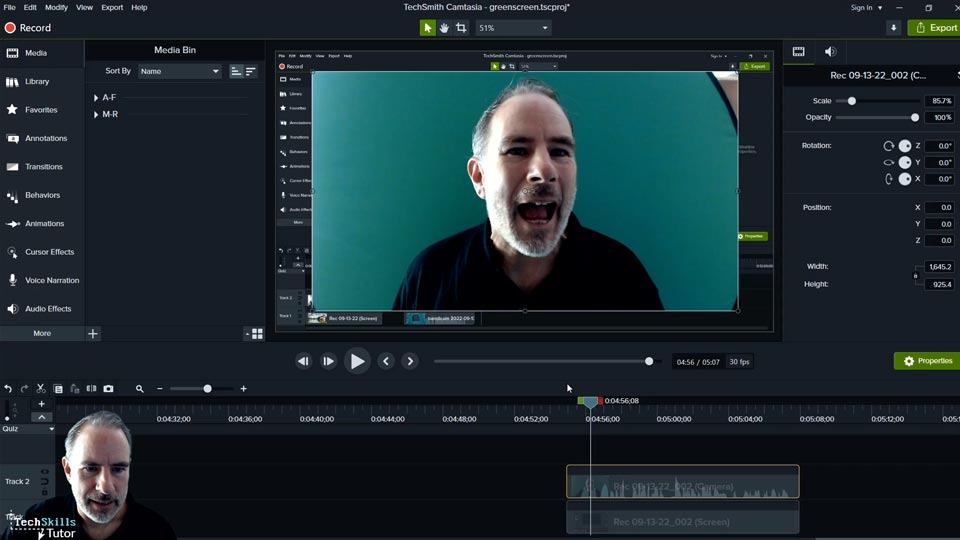
Working with Green Screens
The above video lesson is part of my Camtasia course, learn more here
What are green screens?
Green Screens enable us to remove the background of our video. The colour green can be removed digitally to enable us to have a talking head on top of our video without a background distracting the viewer.
In the video above, I demonstrate how to record and edit when using a green screen within Camtasia.
Setting up the camera
When using a webcam to record our talking head footage, we need to make some changes to the options within our camera controls to change a few settings.
To do this, open the recorder within Camtasia and select the down arrow next to our live camera box, then click options.
This will open up the settings for our webcam.
Now we need to untick all the auto boxes apart from the focus on both tabs. This stops our camera from adjusting and changing the brightness and colour correction of the camera. If these are automatically adjusted during the filming, our footage will be unusable because the shade of our green screen will change and it won't be easy to remove with Camtasia later.
Removing the green background

Once our video has been recorded it's time to drag it onto the timeline so we can edit it. Now we can add a visual effect called 'Remove a color' Drag this effect onto the video file on the timeline.
We now have some more options on the properties dialogue box on the right. We now have a color picker to select the shade of the green background that we want to remove. Go ahead and pick a middle tone. not too bright, not too dark. We are looking for an average mid tone of our green screen. This is where lighting is important. If we don't have even lighting that does not cast shadows over the screen, this part of the process will be a lot harder to get looking right.
Under the color picker square, we now have a few more options to tweak our color shades a bit more to remove any unwanted artefacts. I usually find having a low tolerance gives the best results while adjusting the other settings to get everything looking perfect.
Once we are happy with the video after the green color has been removed we can then resize our talking head footage to fit in the bottom corner. To do this, select the video file of the greenscreen recording from the timeline, then above the video, there are 3 icons, we want the crop tool. Cropping our talking head video so my shoulders and top of my head are just in the crop, I also crop the bottom by a few pixels to tidy it up.
Now we can use the scale option on the right properties box to resize our talking head and drag it into the position where we want it to sit on our main video.
That's it! we are done. now you have a talking head on top of your explainer video so help your content be more engaging to the viewer.
Share this article
For a complete tutorial on mastering all the features of Camtasia, check out my course.
The quickest way to master video editing
